Repair and replacement of drain fittings of the toilet bowl
Breakdowns of the drain tank happen quite often and are very diverse. In order not to spend money on calling a plumber, it is enough to study the device and the principle of operation of the fittings, and then independently eliminate any kind of malfunctions and carry out repairs in a matter of minutes using the simplest tool.
Typical device and main components
Modern models of drain fittings are compact, simple device and high maintainability. Although there may be slight differences in the layout of parts between manufacturers, two generalizing theses can be identified:
- The vast majority of drain fittings can be easily disassembled by hand.
- All devices use the same operating principle.
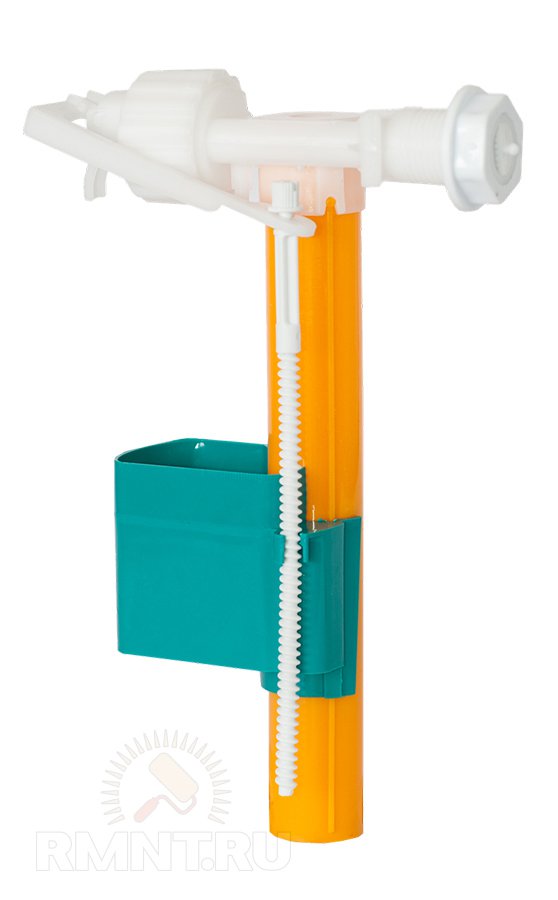
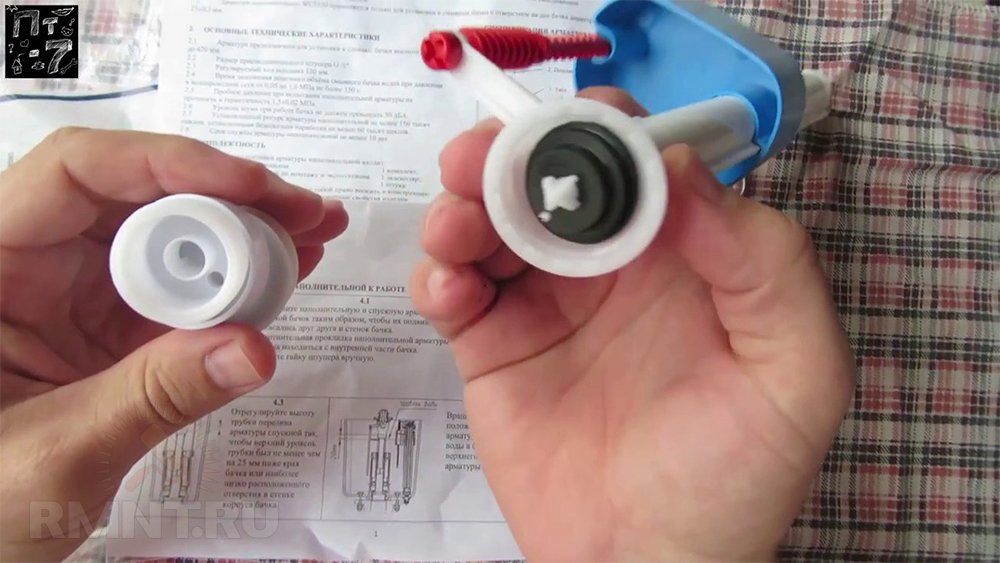
The drain valve consists of two assemblies: an inlet float valve and a drain valve. The inlet nodes can be designed for the lower and upper connection of the water hose, which determines only the location of the float and the scheme for transferring the locking force from it. Unlike older versions, where the float is made in the shape of a pear and is prone to loss of tightness, modern products are equipped with a double glass.
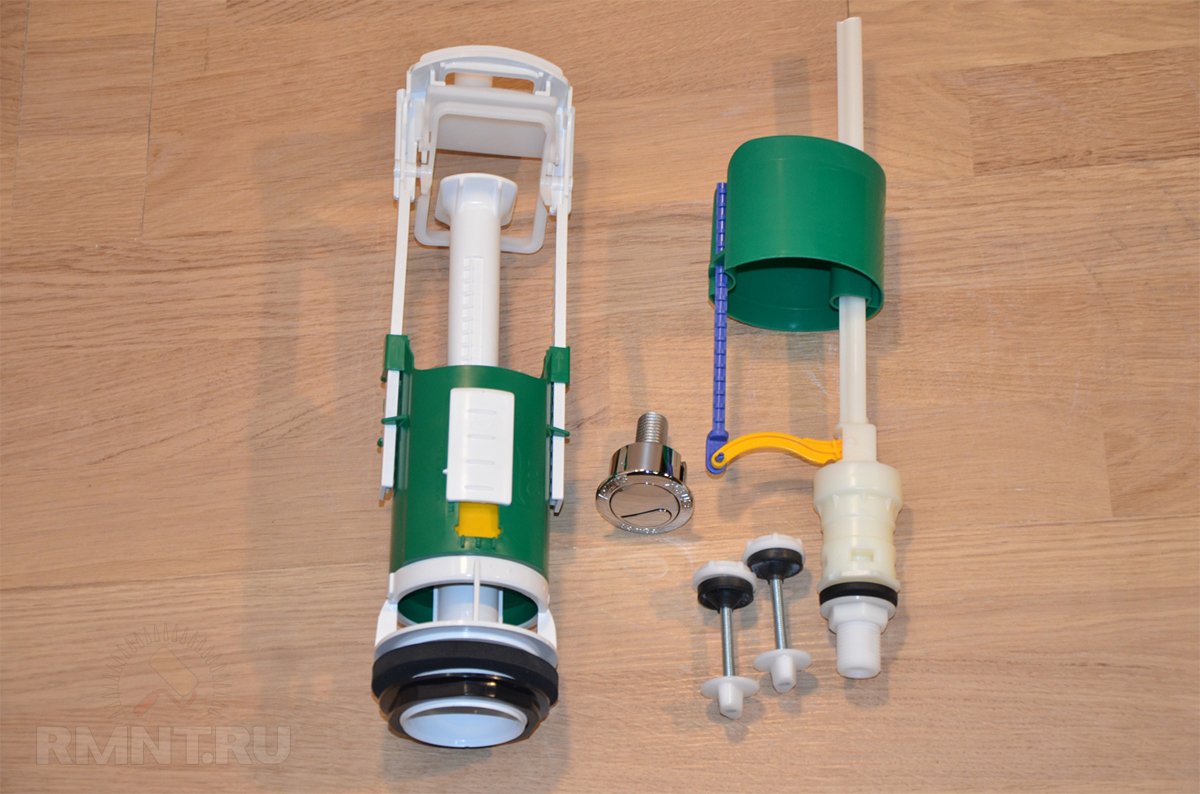
The drain valve is a vertical column located exactly in the center of the tank under the button. In the lower part there is an annular saddle, which is covered by an elastic cuff. The locking force is provided both by the own weight of the stem and by the mass of water in the tank. The opening of the valve occurs when the stem is raised, connected to the button by a rack or lever mechanism.
Intake valve malfunctions
If the inlet valve does not close tightly, water will gradually fill the tank until its level reaches the overflow hole. Outwardly, such a breakdown is expressed in the appearance of a leak not immediately after the cessation of the water supply to the tank, but some time later.
There are two variations of the locking mechanism: in the form of a check valve and a simple cuff. The second option is more reliable due to the simplicity of the device. In both cases, the principle of operation is extremely simple: when floating, the float raises a lever or rod, which, with the reverse shoulder, exerts force on the valve. The problem is that over time, the elastic cuff or rubber stopper takes the form of the counterpart, which does not contribute to high-quality locking.
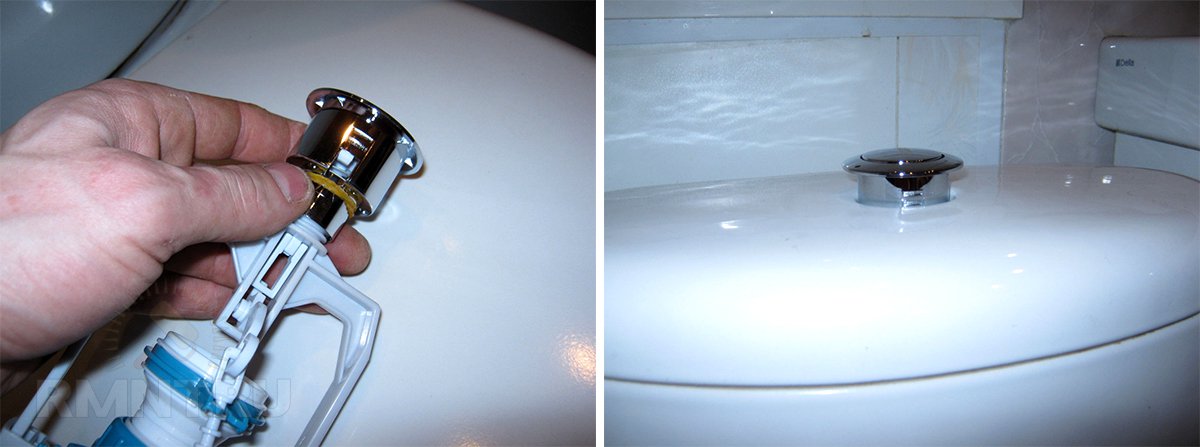
Repairs cannot be made locally, so the inlet valve will have to be removed. It is mounted on a threaded bushing made of plastic. First you need to turn off the water supply tap and drain the water from the tank, then unscrew the drain button and remove the lid. By force of hand, you need to unscrew the union nut, with which the entire valve structure is attached to the bushing.
The problem with any type of valve is on the underside of the small rocker connected to the float rod or arm. To make it easier for yourself, snap off the float drive and dismantle them by disengaging the drive lever from the rocker. Next, you need to remove the rocker itself, usually it is planted in two holes in the valve body with two pins: you just need to slightly bend the ears and get a miniature part. In the reverse action valves at the opposite end of the rocker there is a plastic cup, inside of which a small rubber plug is pressed in, resting against the water supply spout in the closed state. The cork can be pulled out and turned over to the spout with a flat side that does not have a development. If this operation was performed earlier, you can cut the cork to form two new even ends, and then fold and press the two rubber parts back into the glass.

In diaphragm valves, loss of tightness occurs either due to deformation of the rubber disk, or due to insufficient pressure exerted on the valve by the float. You can adjust the position of the glass and place it lower, it will also help to attach a foam cube to the bottom of the float. If it doesn't help, install a new membrane from the repair kit. The simple shape of this part often allows you to make it yourself from a piece of a car camera. Do not forget to thoroughly rinse the device from limestone deposits and rust before reassembling the device.
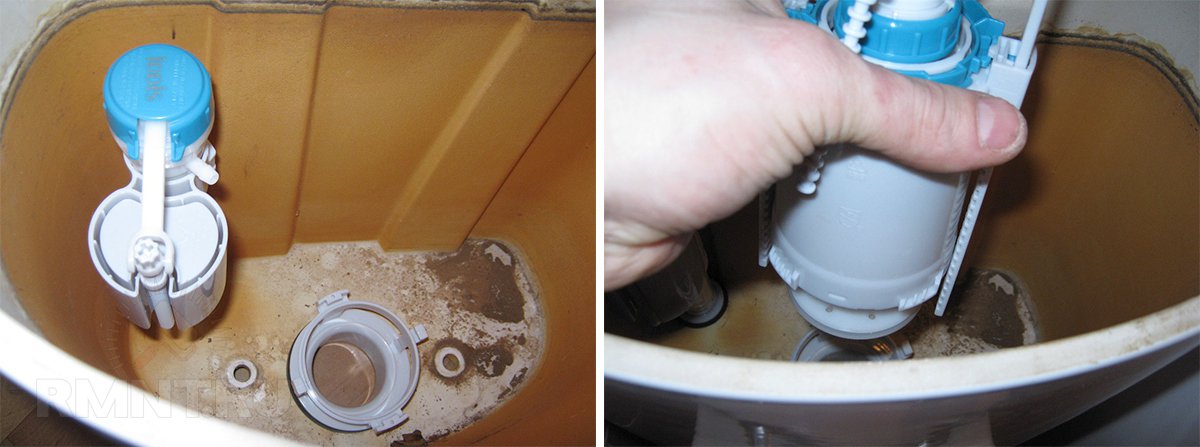
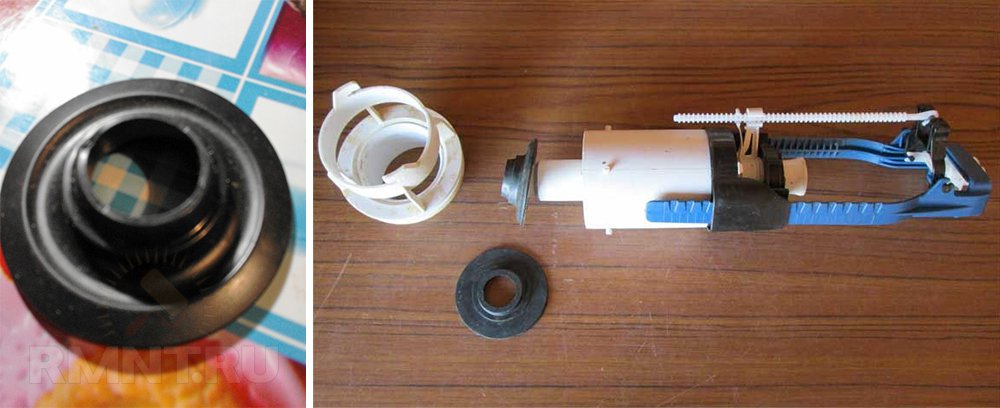
Restoring the function of the drain valve
The entire drain mechanism is easy enough to remove after removing the cover, just turn its top counterclockwise until it clicks (1/2 or 1/4 turn). The tightness of the drain hole can be restored in several ways. If the valve membrane has a symmetrical shape and is noticeably deformed (the edges are bent upwards), it is removed and installed back on the other side. Previously, it will not be superfluous to restore the elasticity of the rubber by holding it for several minutes under running hot water.
If the membrane cannot be turned over or it makes no sense (the edges are even), most likely the insufficient tightness of the valve is due to a low degree of pressure. It can be recommended to increase the vertical stroke of the rod, for which you need to carefully examine the place of its landing in the glass of the outer housing. Usually, the downward movement of the stem is limited by lateral ribs or other formations on the outside of the tube. The recipe is simple: with a file or a knife, you need to sharpen the stops by 2-3 mm. The second way is to increase the weight of the piston, for which several large nuts are attached to its upper part or wrapped with 10-20 turns of thick copper wire.
A loose diaphragm in the seat can be the result of limestone or organic deposits both on the rubber disc itself and on the mating part. Use the rough side of the sponge and a small amount of dish detergent to remove the green organic residue. To remove limescale, use a special cleaner or regular vinegar. In order not to disturb the planting density, it is better to abandon the idea of \u200b\u200bscraping off the deposits with a knife.
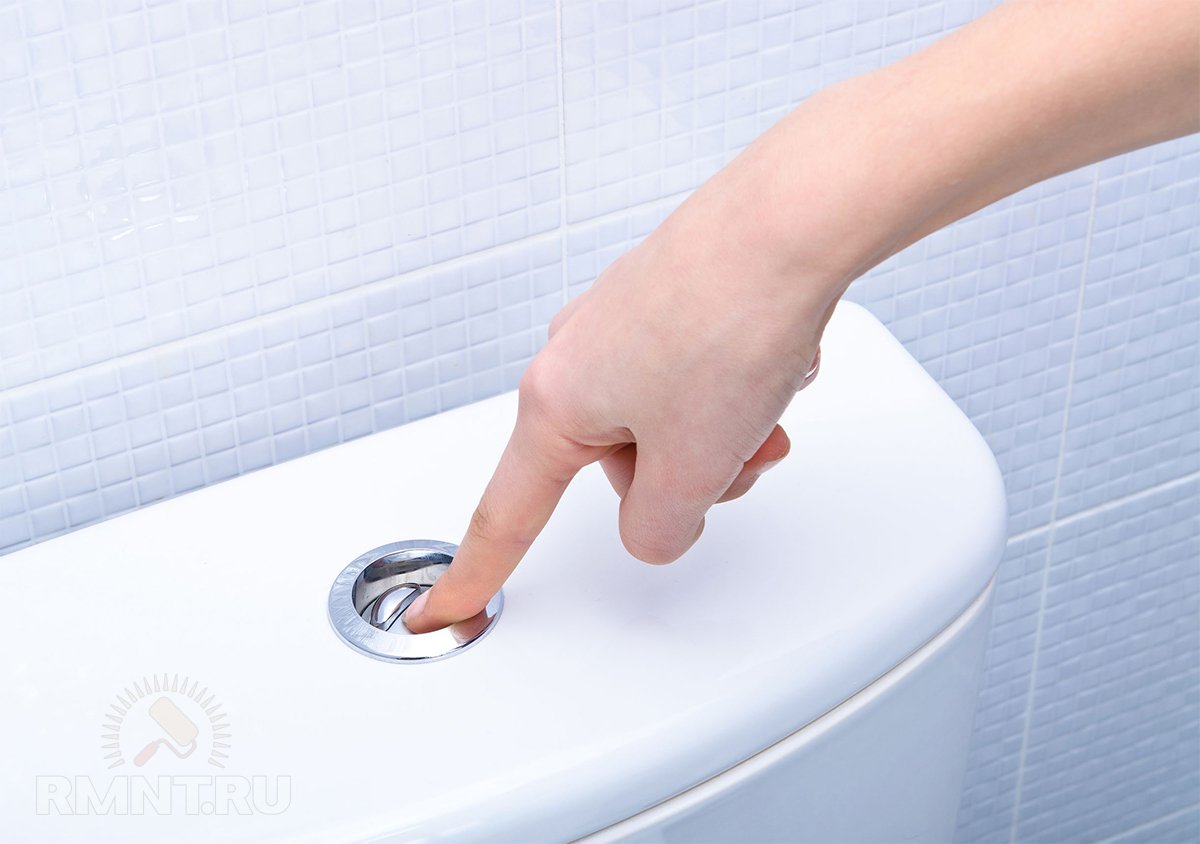
Button and mechanism repair
The valve stem lift mechanism is the least problematic thing, although there are problems with it: jamming, insufficient travel, or simply no action on the stem.
In older versions of the armature, a not very convenient and not the most reliable scheme was used: the button pushed the gear rack, which rotated the gear with a long lever attached to it. The membrane was lifted through a chain attached to the end of the lever. The elimination of problems was solved by a higher tension of the chain, the teeth on the rail also worked out over time, and it had to be turned upside down.
Modern drain valves use predominantly a lever mechanism, which is practically trouble-free. The only problem can arise from poor alignment: after installing the cover, you need to make sure that the threads on the drain valve body are located exactly in the center of the hole. If this is not the case, the position is corrected by moving the upper thrust plate of the microlift a few clicks in the desired direction.
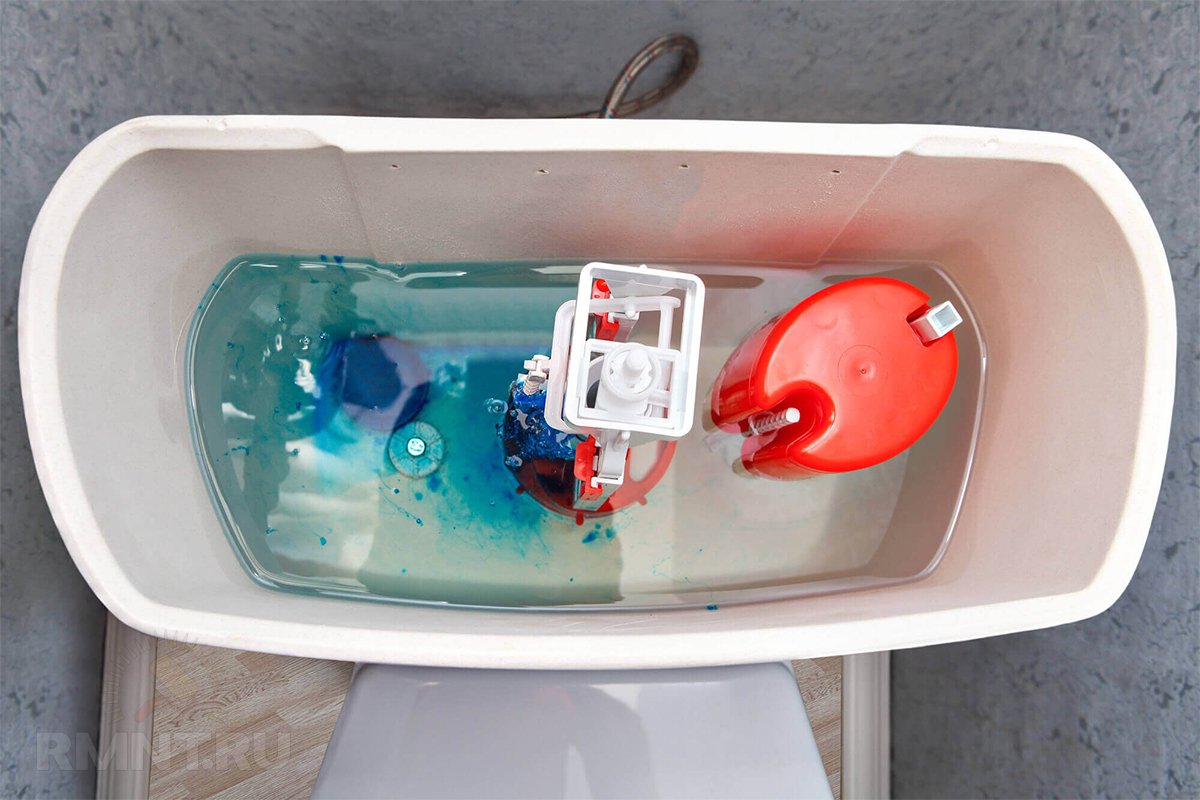
Leak repair
In some situations, the appearance of water on the floor may be due to a leaky fit of the tank on the toilet shelf. First you need to wipe all surfaces dry and find out exactly where the leak has formed.
If, during an external examination of the inside of the tank, the presence of rust on the bolt heads was noted, most likely this was the cause of the leak. It is necessary to drain the water from the tank and unscrew the plastic nuts from the bottom side. After that, the bolts are replaced with new ones, if necessary, also replacing the sealing washers. To protect the bolts from corrosion in the future, you can cover the caps with ordinary enamel or sealant, but do not use silicone for this purpose.

Leakage can also be caused by a loose drain valve seat nut. The tank will have to be removed completely and assess the condition of the sealing rings, as well as the sealing gasket under the tank. In the presence of cracks or loss of elasticity, these elements must be replaced with new ones.
Full valve replacement procedure
In such cases as the destruction of the fittings or the strong wear of the seats of the mechanism parts, only a complete replacement of the fittings can be recommended. The whole process will take about half an hour:
- Shut off the water supply and drain the tank.
- Unscrew the button and remove the cover.
- Loosen the inlet valve nut and snap off the top of the drain mechanism by turning it counterclockwise.
- If an identical set of fittings is used for replacement, it is not necessary to replace the lower parts.
- If it is necessary to replace the lower part of the drain valve, remove the tank mounting bolts.
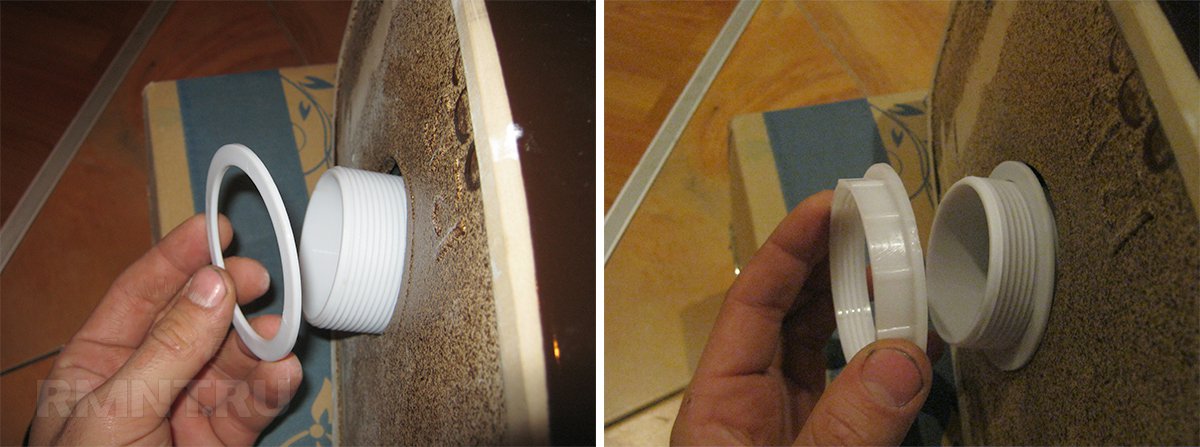
- Unscrew the wide clamp nut from the underside and remove the lower part of the drain mechanism.
- Install a new seat, fitting the threaded socket with O-rings on both sides.
- Fasten the tank in place.
- Install the new intake and drain valves, center the neck under the button, and complete the reservoir assembly.