Installing the shower tray
We present to your attention an article on how to install a shower cabin yourself. Most apartment owners can do the job themselves if they use the right materials, tools, and techniques.
There are a wide range of shower enclosures on the market today. There are, for example, cabins that are delivered already assembled. They are easy to install, but they are not popular because of their size (they simply do not fit into standard door openings). Cabins that require assembly have become more common, and we advise you to pay attention to such models, and in our article you will learn how to install them.
To install a shower enclosure, you need the following:
Materials:
- shower cabin included (or separate tray and frame with walls);
- siphon with flexible connection;
- elbow pipe;
- silicone sealant.
Tools:
- adjustable wrench;
- gun for silicone sealant;
- drill and drills;
- spirit level;
- tape measure, pencil;
- protective gloves, goggles.
Adviсe:
- read the manufacturer's instructions before starting work;
- make sure that the floor at the installation site of the shower cabin is absolutely flat;
- insulate the joints of the drain elements;
- seal the joints between the frame and the pallet.
Installing the shower tray
Installing a shower tray is not a very difficult task, especially if you pay attention to a few important aspects.
First, before installing the shower tray, make sure that the floor is even. Small deviations can be reduced to nothing by adjusting the height of the legs.
Secondly, you must place the drain in the floor in the right place, since the opening of the shower stall should be a short distance from it. If for some reason a match could not be achieved, the project can still be completed with the help of additional adapters and a long flexible hose, but this will require more time and effort.
Thirdly, you must properly connect and seal all the elements, otherwise water may leak during the operation of the shower cabin.
You should start by acquiring the tools and materials that you will need for this project. You will need an adjustable wrench, spirit level, silicone sealant, and a gun to apply it. We recommend that you use only quality materials, otherwise you will have to make small repairs every few weeks.
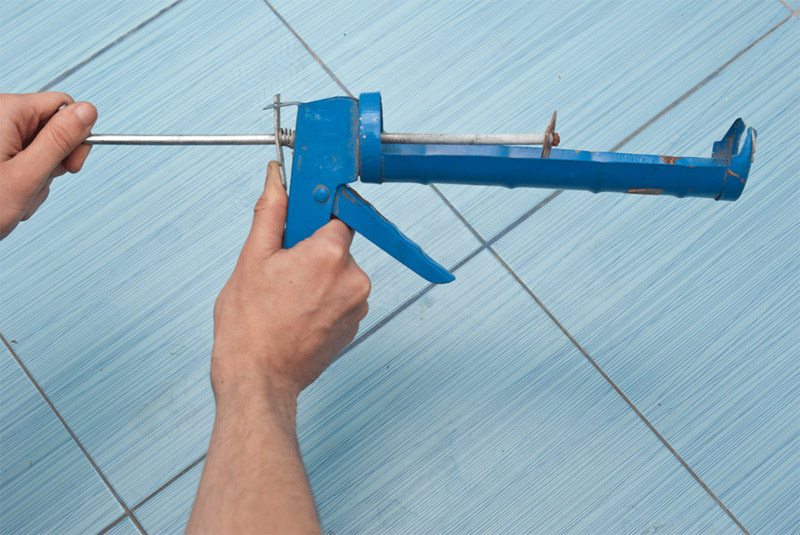
Gun for applying silicone sealant.
As a rule, they try to make sure that the drain hole of the pallet is located exactly above the hole in the floor leading to the sewer pipe. In our case, the bathroom was already tiled, and we didn’t want to open the floor in order to transfer the already made drain to the right place. But even in difficult situations there is a way out, so we bought a flexible hose and elbow. Using these elements, we will connect the shower cabin drain to the sewer. It may take a little longer, but in the end no one will feel the difference.
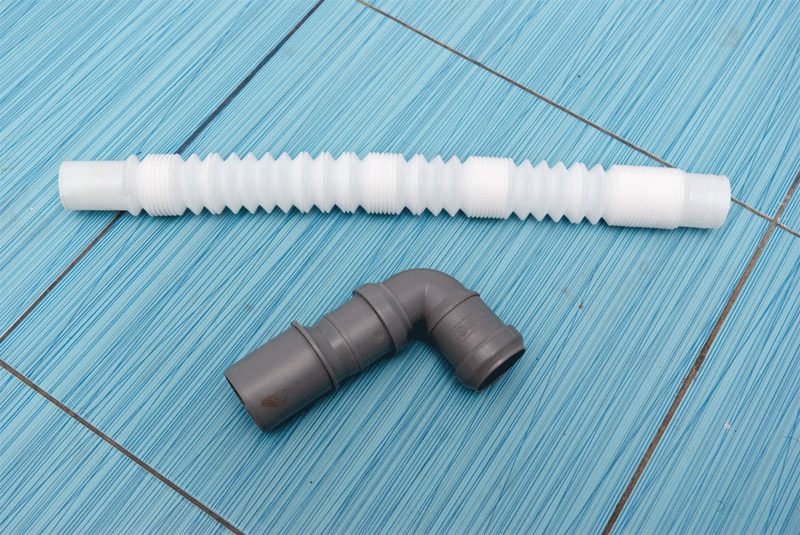
Drain hose-accordion and sewer elbow at an angle of 90 0 with a diameter of 50 mm.
Using a spirit level, check that the floor surface is even. This is best done before tiling the floor.
If it turned out that the floor in the place where the shower cabin will be located has a slope, we recommend pouring a layer of self-leveling coating. In the meantime, you carefully read the instructions of the manufacturer of the shower cabin and familiarize yourself with the installation methods.
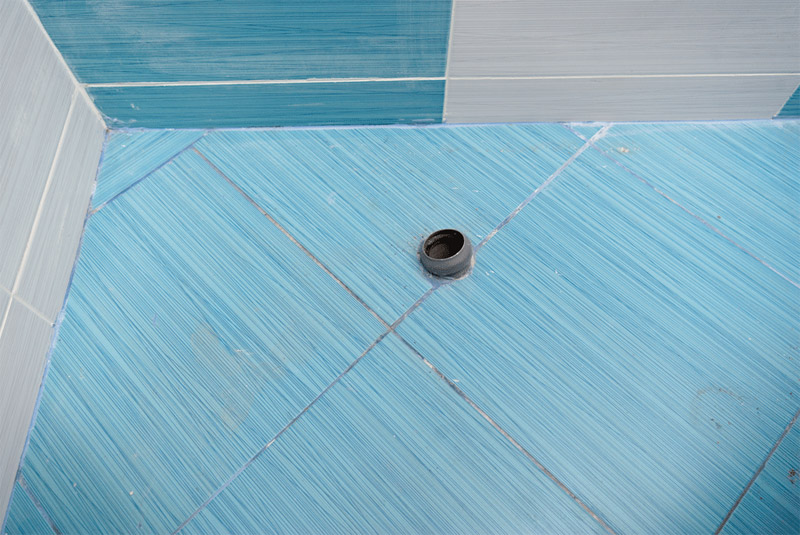
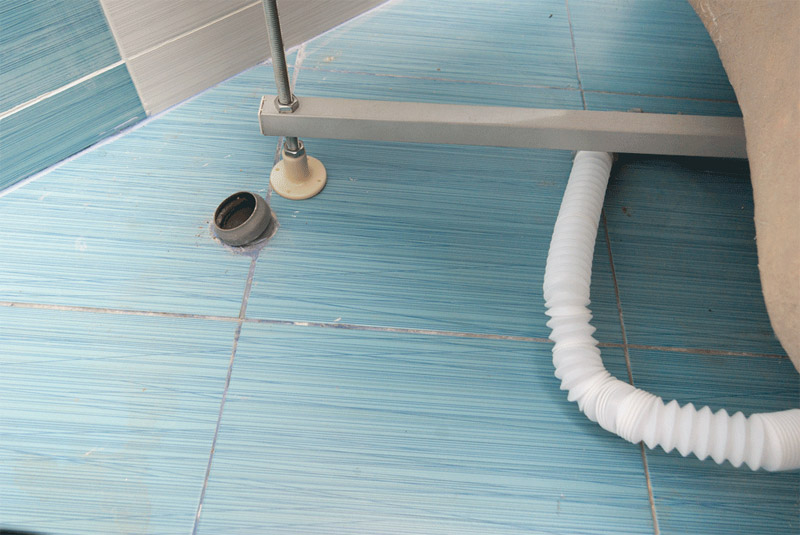
Drainage hole in the floor.
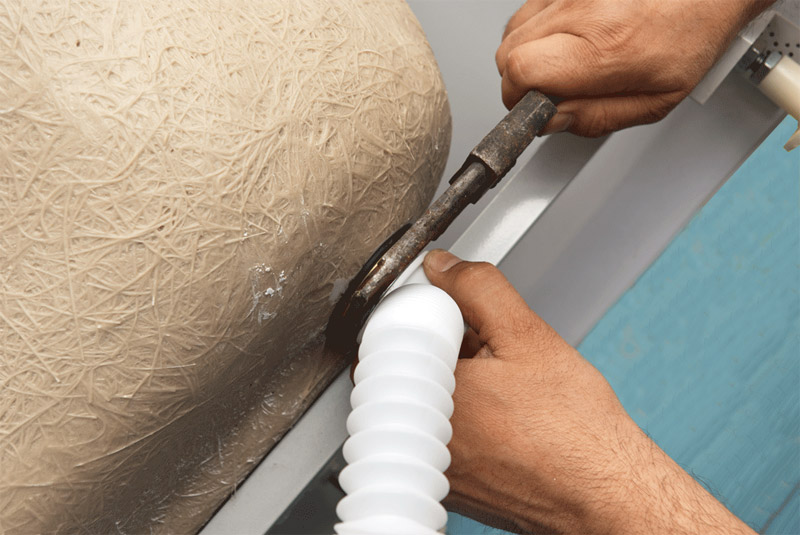
The next step in the project is to connect the flexible hose to the elbow and seal the joint with silicone. If the flexible hose fits snugly into the elbow, sealing is not required. Let the silicone dry before connecting the hose to the shower tray.
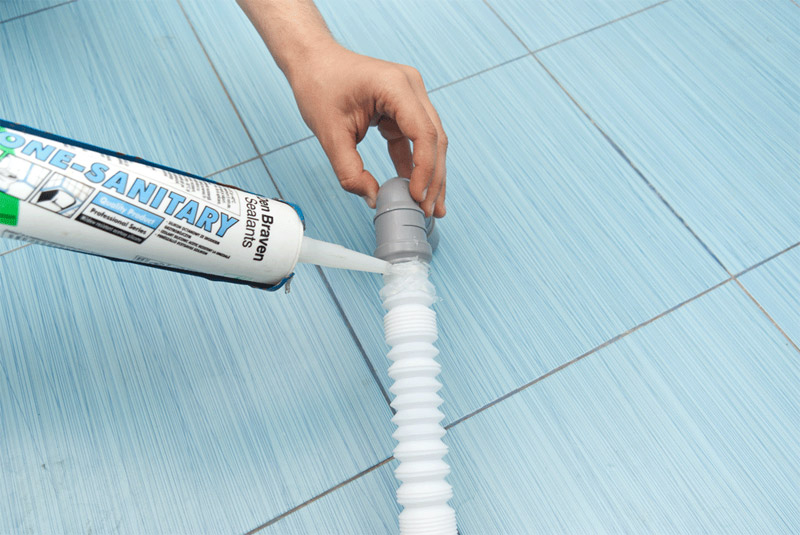 Sealing the joint between the hose and the elbow.
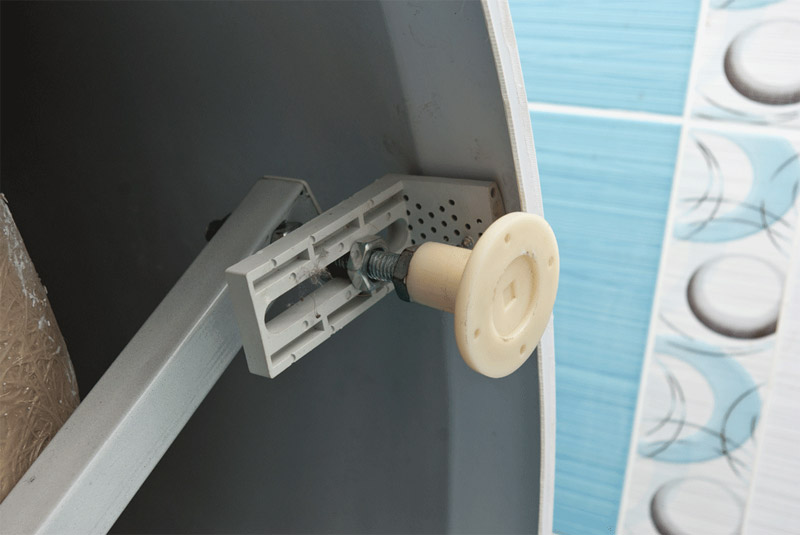
Now inspect the shower tray. We installed a high base shower tray, but the installation methods are the same for any type of tray. As you can see in the photo, the base has several adjustable feet to allow it to be leveled when installed.
Pay attention to the drain hole. As a rule, they try to place it above the drain in the floor. In our case, this is not the case, so we needed a fairly long flexible hose to connect them.
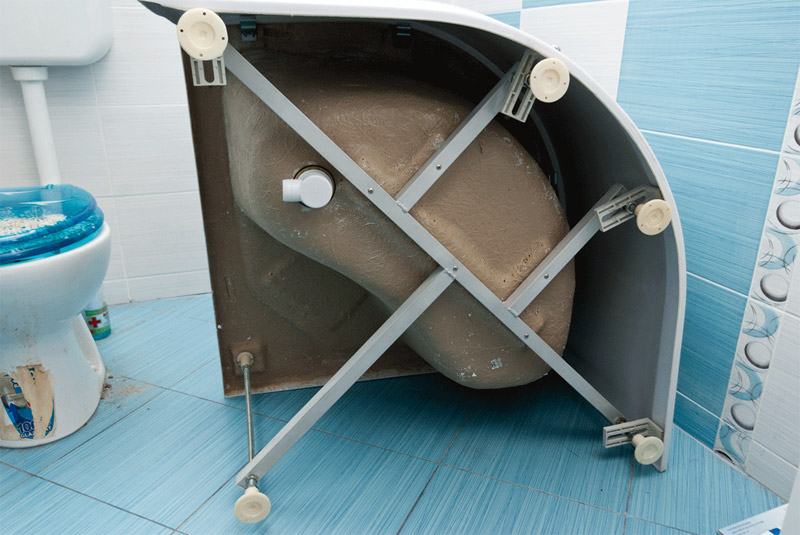
Shower feet and base.
Attach the siphon body to the drain pan, then secure the flexible hose to the siphon.
Connecting the siphon and hose to the drain pan.
Insert the other end of the hose (elbow) into the drain hole in the floor. Make an effort so that the pipe sinks deep enough.
It is necessary to connect the pallet to the sewer using a siphon. Some models of siphons consist of one flexible hose, from which it is necessary to form a bend of the desired shape and fix it with the help of special tools included in the kit.
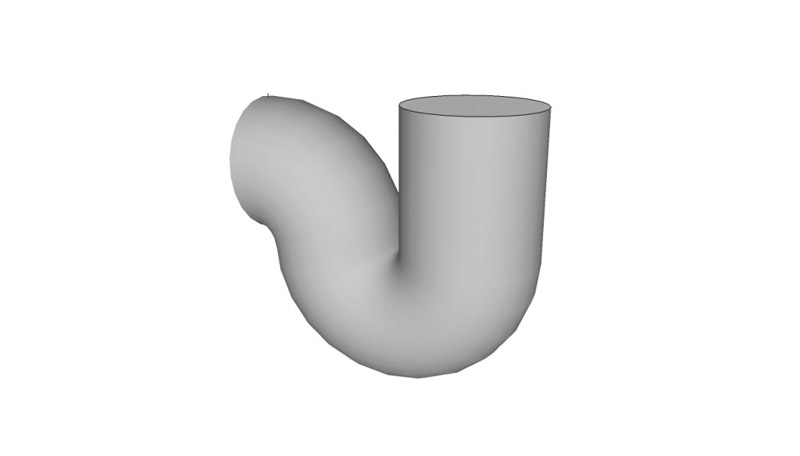
A siphon formed from a flexible hose should have a similar bend
It is very important not to skip this step, otherwise you will constantly smell bad smells from the sewer.
As we have already mentioned, the shower tray is equipped with adjustable legs. To align it, you need to change the height of the legs with a wrench.
Tip: Turning it clockwise will lower the shower tray slightly, counter-clockwise will raise it.
Align the shower tray at all its edges, using a spirit level to control. If necessary, adjust the height of the legs using the appropriate wrench.
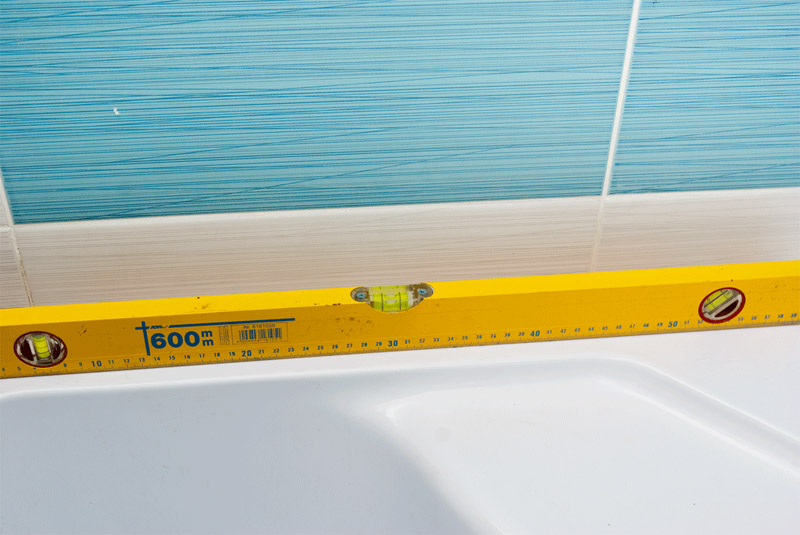
After adjusting the height of the shower tray and attaching it to the wall, seal the gaps between the shower base and the wall with silicone sealant.

Installed shower tray.
Installation of shower walls and doors
You've installed your shower tray, now it's time for the fiberglass walls and doors. Shower cabins made of this material are gaining more and more popularity due to its flexibility and ease of installation and maintenance.
Installing shower walls is a bit of a chore, but if you ask a friend to help you, you're sure to get it right. We strongly recommend that you read the manufacturer's instructions carefully before starting installation. Different shower enclosures can vary significantly from each other, so you should first of all focus on the manufacturer's recommendations.
Tip: Align the frame members at both ends before fixing with screws/screws. In addition, carefully check their verticality, otherwise you will not be able to place glass panels later.
Even if you bought a kit that includes a pallet and a frame with panels, check their compatibility. Unpack the wall components, being careful not to damage the glass panels as they are quite fragile. Before starting work, make sure you have all the necessary tools - a tape measure, a good drill, a screwdriver and a caulk gun.
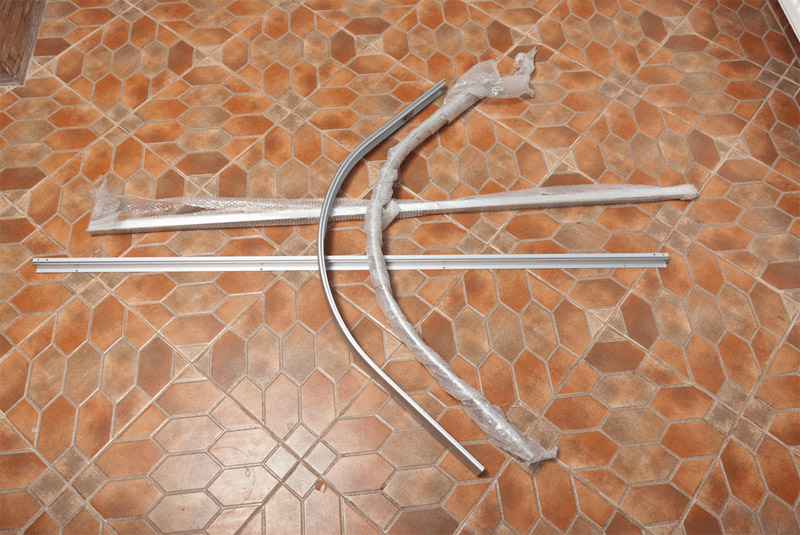
Elements of the frame of the walls of the shower cabin.
The first step of this stage of work is the assembly and installation of a metal frame. When screwing in screws, do not tighten them too tight.
Tip: Before attaching the frame members, check that they are aligned at both ends.