How to close pipes in a toilet: effective ways to mask communications
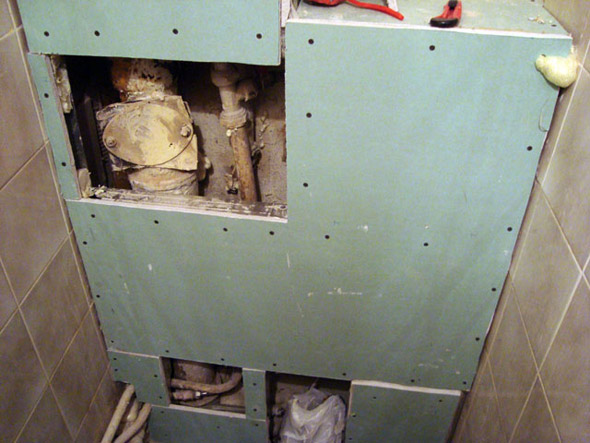
Any toilet is always an accumulation of a wide variety of pipes, risers, and faucets that form a communication network that is directly responsible for the comfort of our lives. But despite such an important mission, all these devices have one significant drawback - their unattractive appearance, which can ruin even the most sophisticated interior. It is impossible to remove communications - it remains only to fight their unpresentability. How? There are many ways to hide pipes and related equipment, but we will focus on the best projects - we tell you how to close communications with PVC panels, roller shutters, drywall and tiles without any hassle.
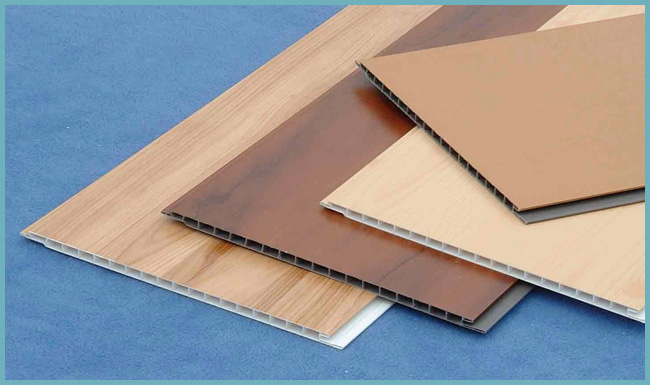
Available plastic panels
PVC sheets are one of the cheapest and easiest ways to mask pipes in a washroom. Due to its flexibility and low weight, plastic is easy to use, so it will not be difficult to build a false wall out of it. For installation work you will need:
- PVC panels 8 mm thick;
- metal or wooden planks;
- hacksaw;
- scissors for metal;
- drill;
- screwdriver and self-tapping screws with press washers;
- level.
PVC panels
Work begins with markings - mark on the walls, ceiling and floor where the frame strips will be attached. The latter should not come into contact with the pipes - a distance of at least 5 cm must be maintained between the frame and communications on all sides. Then, using self-tapping screws, fix the frame planks, wooden or metal, with an average step of 30 cm. and floor planks.
When the frame of the box is ready, install the starting bar on the lower profile and start sheathing the “skeleton” with panels. The first sheet must be inserted from the corner into the starting bar and secured with self-tapping screws with press washers. Install the second and subsequent sheets on the frame with a tight fit with the previous panels. Finally, close the edges of the sheets and the corners of the false wall with skirting boards, and then seal all joints with sealant.
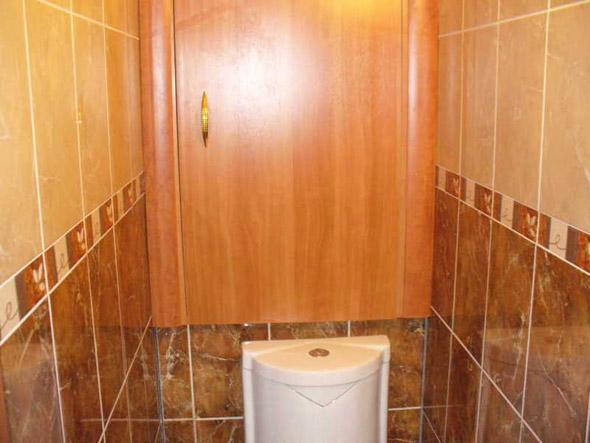
Advice. In two or three panels, depending on the dimensions of the false wall and the nature of the location of the pipes, make in advance a kind of inspection door for servicing communications.
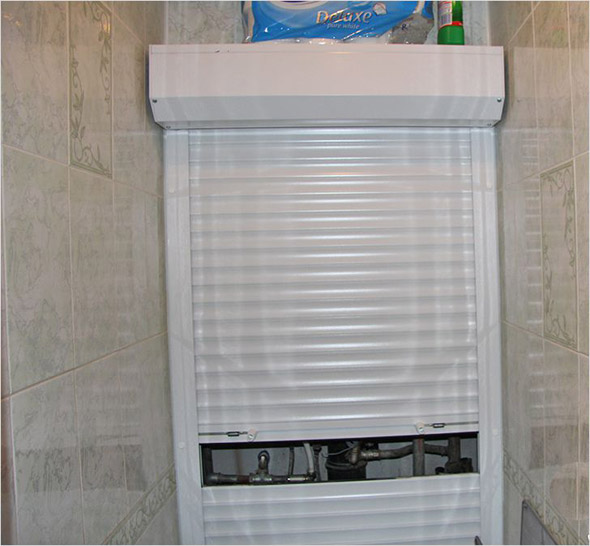
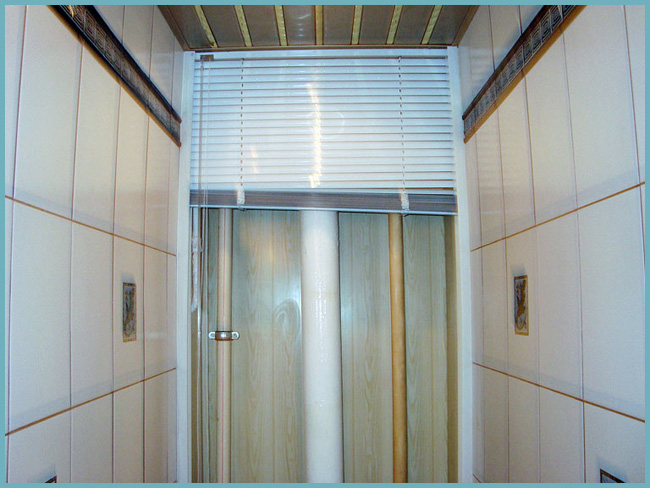
Practical roller shutters
Roller shutters are the most practical way to hide communications, as they always provide unhindered access to pipes for their maintenance. You can mount this kind of blinds both on the entire wall, and in separate blocks. But you should be aware that installing roller shutters is not an easy task, so strictly follow the manufacturer's instructions that come with the installation kit.
Prepare for work:
- roller shutters with mounting kit;
- level;
roller shutters
- drill;
- roulette.
Advice. Before fixing the roller shutters, it is desirable to align the walls so that there is exactly the same distance between the blinds blocks.
The frame of profiles is installed first - the gaps between the slats should correspond to the width of the roller shutters. Then guides are attached to the side rails, and a box of blinds to the top. Further to the drum shaft, using the manufacturer's fasteners, lamellas are installed with mandatory fixation in the grooves of the guides. After installing the last lamella, the process of opening / closing the roller shutters should be adjusted.
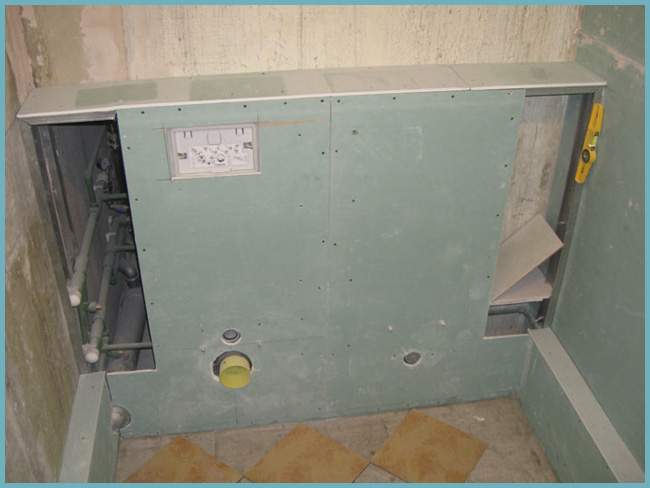
Diverse drywall
Drywall is good, first of all, because it lends itself to almost any processing: a finished false wall can be painted, wallpapered, painted, plastered, decorated with mosaics, etc. Thanks to this, you get the opportunity not only to hide the pipes, but also completely change the look of the toilet room.
To make a false wall you will need:
- moisture resistant drywall;
- inspection rubber hatches with a magnetic lock;
- fixing canopies;
- steel profile;
- self-tapping screws and dowels;
- drill and screwdriver;
- putty;
- hacksaw;
- level;
Drywall box
- insulating tape;
- reinforcing mesh;
- finishing material.
Installation diagram of a plasterboard false wall:
- Mark out the work site - mark the lines for the frame on the walls, floor and ceiling. Fasten the canopies along the marked lines, and install profiles on them - starting from the floor and gradually moving along the walls to the ceiling. Then install the extension profiles for the racks, fixing them in the ceiling and floor strips. Fix both canopies and profiles with self-tapping screws.
- When the frame is mounted, start installing drywall - fasten the sheets to the profile strips with self-tapping screws in 20 cm increments.
- Close the gaps between the sheets with putty and reinforcing mesh - the latter will protect the seam zones from cracking.
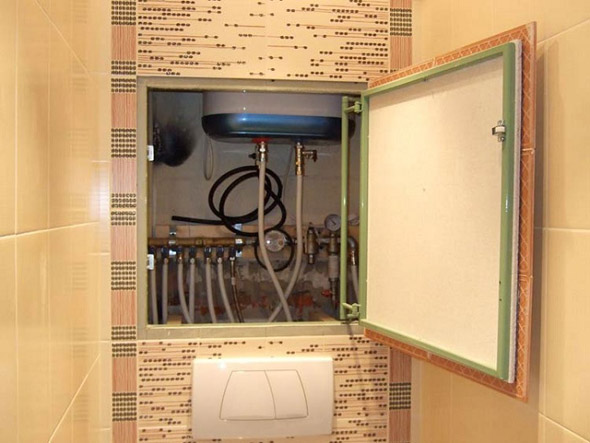
- After completing the sheathing, make two or three holes in the plasterboard wall for inspection hatches and install the latter in the resulting openings.
- Treat the false wall with putty and complete the finishing cladding.
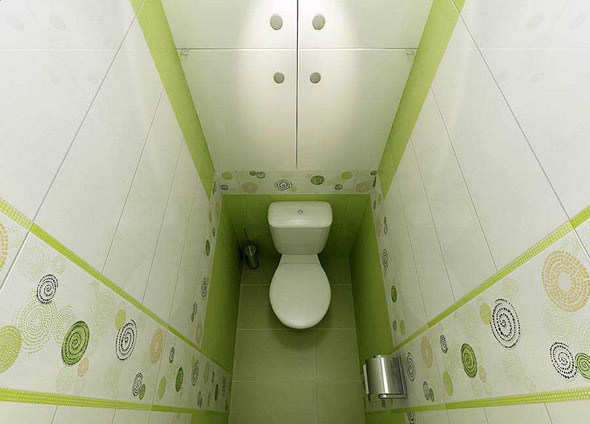
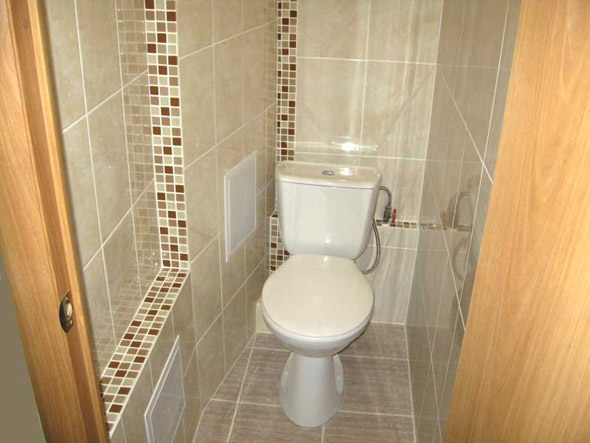
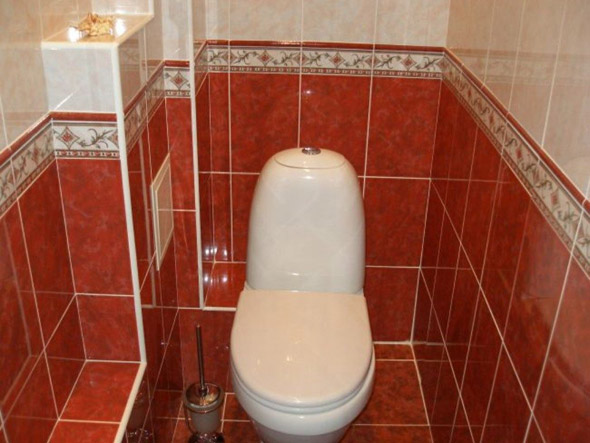
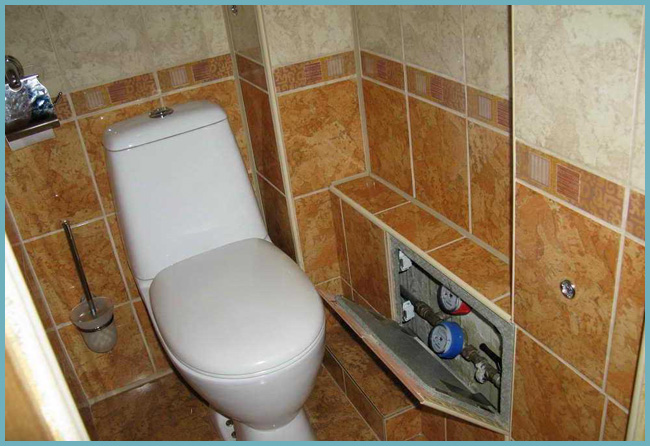
durable tile
- a traditional material for a bathroom, but to mask communications it is used not only due to the classic look, but also due to durability. If we exclude the possibility of mechanical deformation, then a good tile can serve in the toilet room for more than one or two decades without becoming moldy and without losing its appearance. The tiles are mounted on a special box made of plywood or drywall - it is attached to the frame, similar to the previously considered options for the construction of false walls. Do not forget to also install already familiar inspection hatches in the box.
Advice. The material for the tile box must be strong enough to support the weight of the finish, so use plywood or drywall sheets that are at least 12mm thick.
For direct tile laying, prepare:
- ceramic tiles;
- tile cutter;
- tile adhesive;
- notched trowel;
- sealant;
- tile crosses.
First, mix the adhesive and prepare the tiles - cut the products to the configuration of your box. Further, moving from the bottom corner, start finishing the box according to the following scheme: with a spatula, apply the adhesive on the working surface of the box; moisten the mounting side of the tile; lean the tile against the work surface and press lightly. Insert plastic crosses between the tiles to ensure even seams. After laying all the material, remove the crosses, and treat the seams themselves with sealant.
Here are four spectacular ways to hide the "web" of pipes in the toilet room and make its interior as harmonious as possible. Panels, drywall, tiles, roller shutters - all these masking options are easy to perform, financially affordable, and attractive in appearance. The instructions are in front of you - it remains only to make a choice, and you can safely take on the transformation of the bathroom.
Plastic box in the toilet: video
How to close the pipes in the toilet: photo