Do-it-yourself decorative screen for a heating battery
In which heating radiators will fit organically. The question becomes how to hide them from sight. Making a decorative screen for a heating battery with your own hands is simple, but you need to take into account a number of rules so that the screen does not spoil the heating efficiency.
What should be the screen for the battery
Radiators give off heat to the environment by radiating thermal energy and direct heat exchange with air, which is facilitated by active air convection in the room. The screen for the radiator, ideally, should not affect the efficiency of heat transfer at all. When choosing a suitable design, the negative effect on heat transfer should be kept to a minimum.
Based on this requirement, we can state a number of rules that must be taken into account in the manufacture:
- The presence of a ventilation gap at the bottom along the width of the radiator for air access to the surface of the radiator of at least 7 cm.
- The presence of a ventilation gap at the top along the width of the radiator of at least 10 cm for the release of warm air.
- The distance from the extreme part of the radiator to the front panel of the screen is at least 5 cm.
- At least 50% of the front of the screen is gaps. For any chosen lattice, more than half of the area is made up of through holes.
- The entire inner surface is painted black.
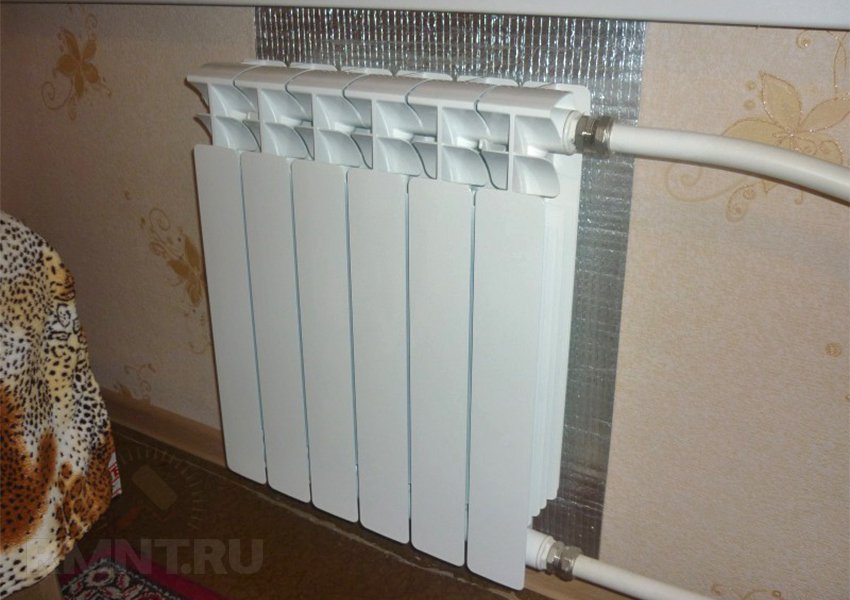
- A heat-reflecting screen is mounted on the wall behind the heating radiator.
- The design is removable, at least the front panel, for access to the radiator.

If there are thermostats on a siphon-type radiator, they should not close even partially, valve isolation is allowed, but the siphon should be outside the screen.
If these simple rules are not observed, the heat from the radiator will accumulate under the screen and, most likely, will fall back into the coolant, go into the return line. The power of the radiator will decrease, because it directly depends on the temperature difference between the coolant and the air in the room, as a result, less heat will enter the apartment.
Design
The screen for the radiator can have several versions, depending on the location of the radiator and the design of the niche in which it is installed.
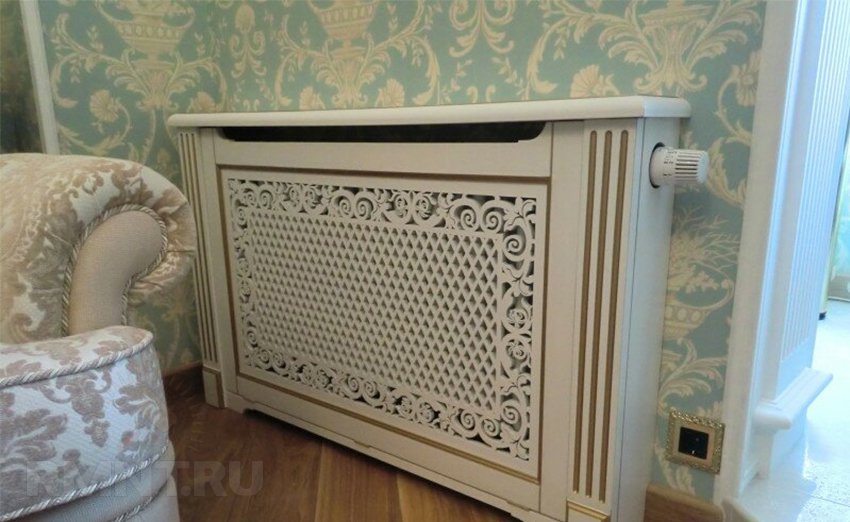
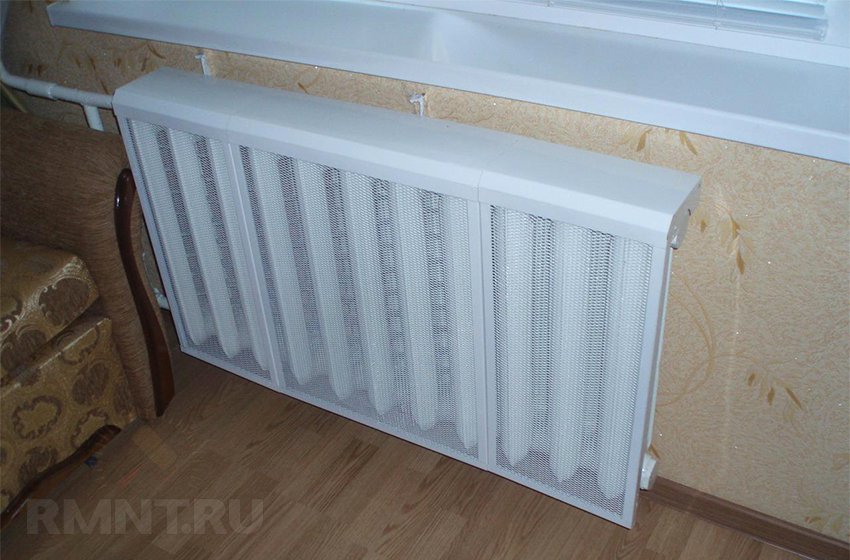
One-piece screen-box. For a radiator located on the wall without sinking into a niche or strongly exposed from it inside the room.
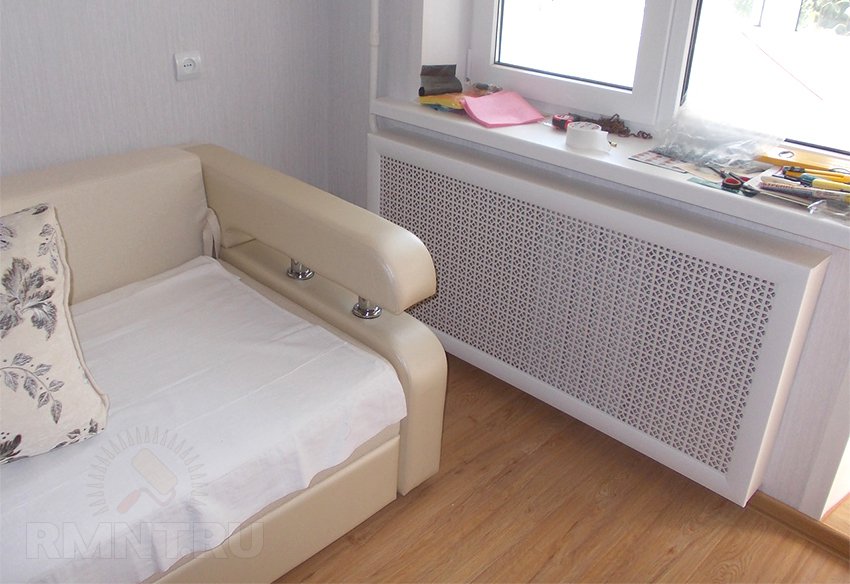
Overhead screen from only one front panel, if the radiator is recessed completely beyond the border of the niche under the window and window sill.
Plasterboard false wall with grating opposite the radiator.
In the first case, the most versatile option is obtained. If you understand how it works, you can reproduce any other option required in a particular situation. A frame is assembled along a frame of wooden bars or a metal profile of the smallest cross-section, which is subsequently sheathed with decorative panels and a lattice in the front.
Slots are made in the side walls for pipes to fit the radiator, or the screen expands enough to completely hide the pipe outlets, if they were originally laid inside the walls. Fastening is carried out to the wall behind the battery, for which hanging loops on the screen and a bracket on the wall are used.
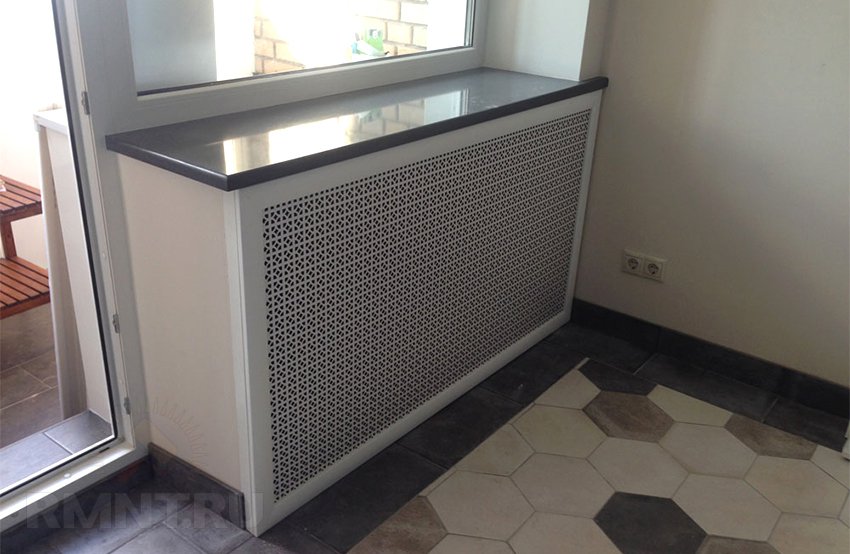
The required clearance from above can be hidden from view by placing an additional shelf made of laminated MDF sheet above it. It should be separated from the screen by the width of the gap itself, that is, at least 7 cm. This is quite enough to visually hide the radiator. The shelf will be a nice and useful addition to the decor of the battery.
Separately, it is necessary to specify the features of screens mounted in drywall false walls. It is not enough just to place the grille opposite the radiator. It is necessary to limit the space around the radiator from the rest of the space behind the false wall. For example, by wrapping the edges of a heat-reflecting screen made of metallized polyethylene foam, fix them on the back of the drywall. Ventilation gaps are necessarily formed along the upper and lower parts of the grille, respectively, above and below the radiator, which are trimmed with plastic trim from PVC panels.
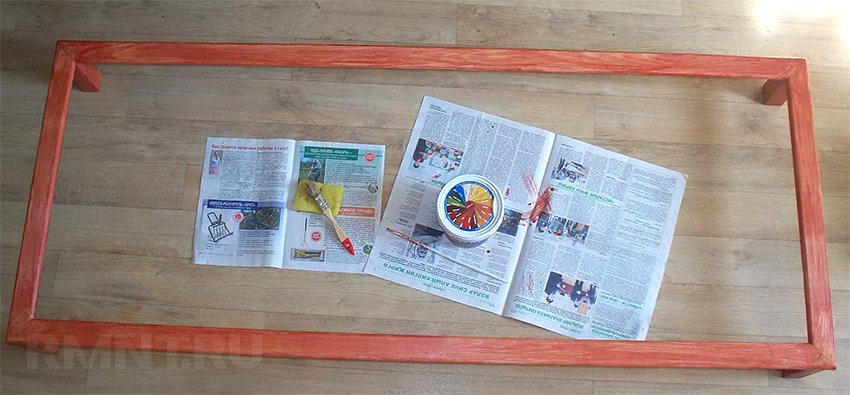
DIY screen
In a simple case, this is a frame made of wooden beams 20x25 mm in the required size in order to cover the entire radiator, taking into account all the indents. Racks are attached to this frame to the entire depth of the screen so as to reach the wall behind the radiator, and at the same time, the front edge must be separated from the radiator by the distance required by the rules.
- laminated MDF 8 mm;
- polyurethane plate 2-6 mm;
- PVC panels;
- plexiglass 2-6 mm;
- perforated metal sheet, galvanized 0.5-1.5 mm.
Plywood is not suitable for this, as it will exfoliate quickly enough.
Using MDF or polymer materials that are difficult to deform, it is enough to fasten the sidewalls and the front frame with a hole for the grate in the center using corners and self-tapping screws. Thus, even a bar is not needed.
Slots for pipes are made in such a way that the edge of the screen material is 5-7 mm away from the heated surface.
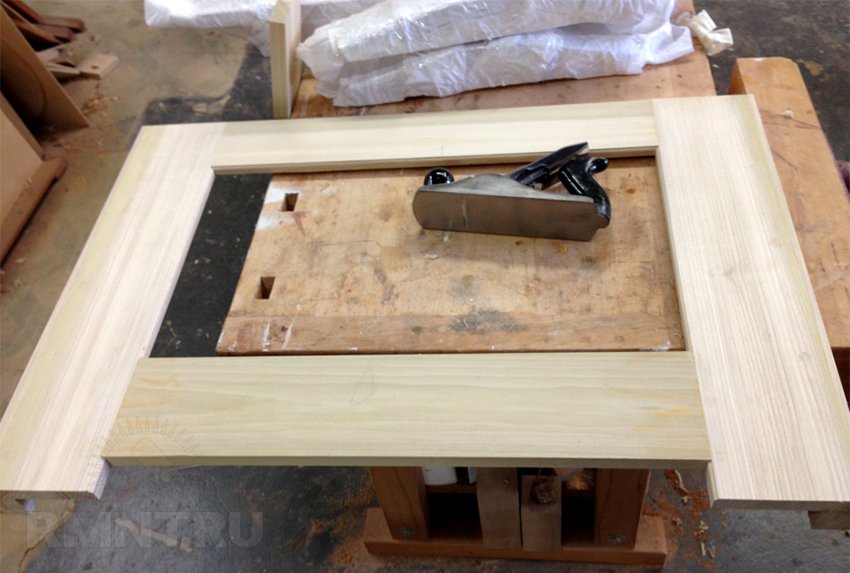
The front decorative frame for the lattice is formed from four strips of the selected material. It is better to join them with straight joints, when horizontal elements are placed on the side close to the vertical ones. It will be aesthetically pleasing if the horizontal elements are drowned in relation to the side ones by one millimeter.
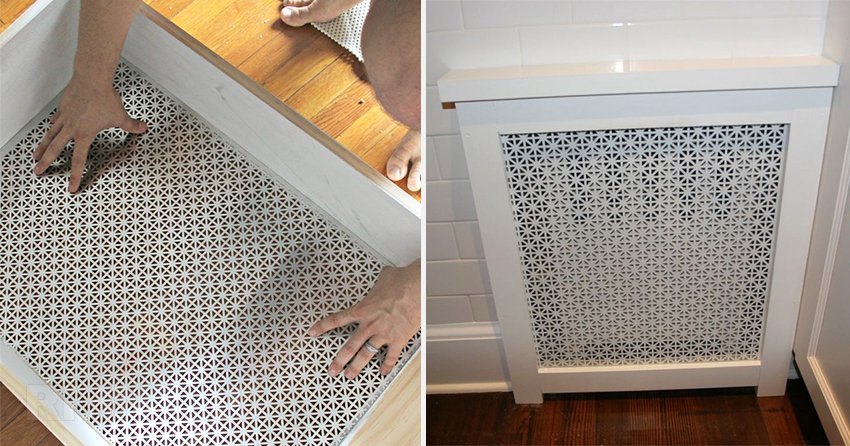
On the front panel, you need a grill of any suitable material that will hide the radiator from view and at the same time leave a sufficient amount of gaps:
- rattan panel;
- sewing with wooden lamellas;
- woven mesh;
- perforated metal sheet;
- finished decorative grilles.
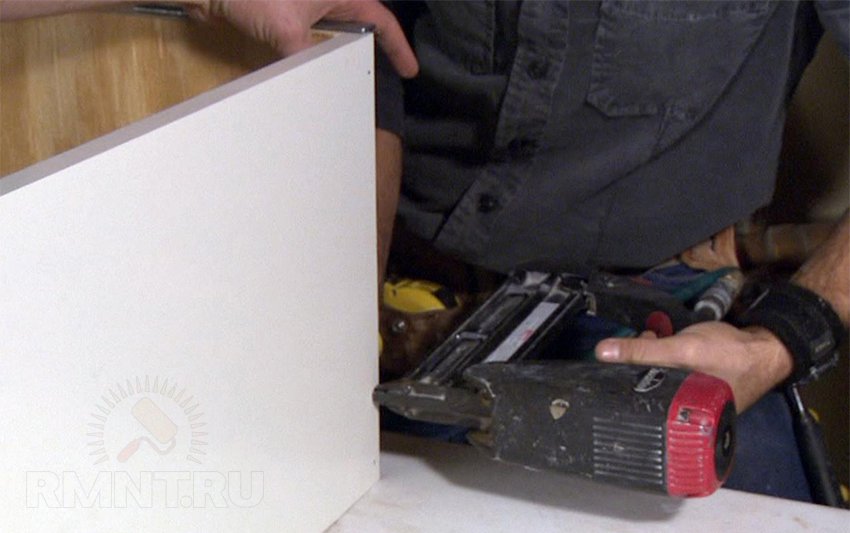
The selected material is attached to the frame with a construction stapler and staples or screws.
According to the rules, it is better to paint the inner surface of the screen in black or any other dark tone. The easiest way to do this is after assembly with a brush or an aerosol can of paint. The main thing is to protect the front with masking tape.
As a support for the screen, L-shaped mounts with plastic dowels or anchors of the same shape are used, which should be fixed on the wall behind the battery. Along the upper edge of the side walls of the screen, it is enough to make vertical holes in a bar extending from the common frame, or to fix a corner that will be put on fasteners with one of its shelves.
Before putting the assembled structure in place, it is necessary to fix the heat-reflecting screen behind the battery. For this, "Penofol", foamed polyethylene, metallized on one side, is suitable. Its size corresponds to the area of \u200b\u200bthe closed space. A heat-reflecting screen is attached with a stapler and staples or silicone, liquid nails.
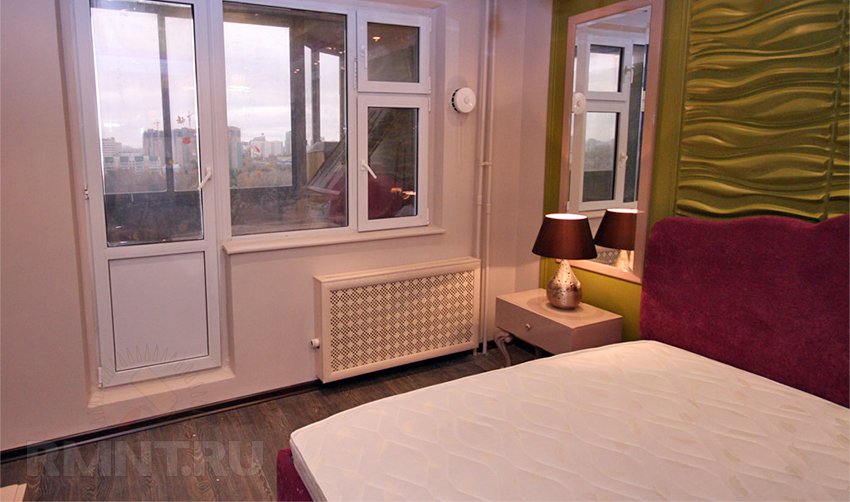
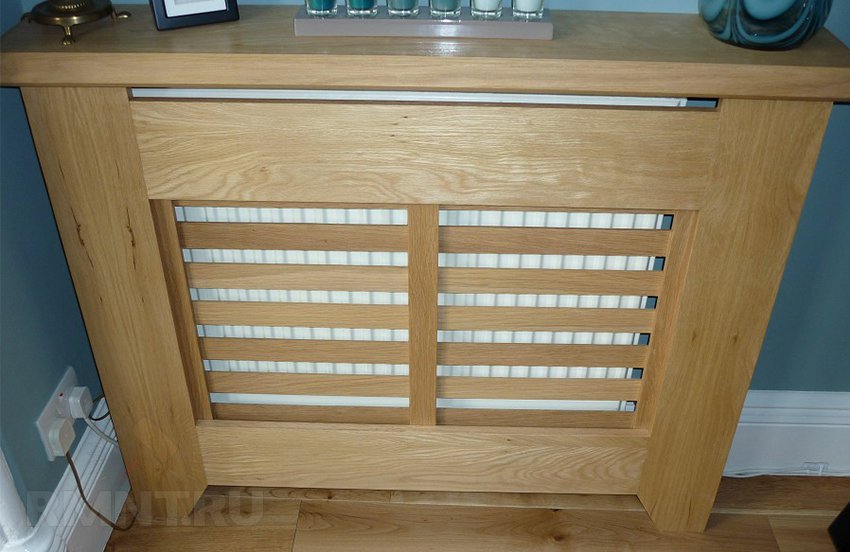
Any fittings or, moreover, refinements in the design of the screen are made based on the visual effect in compliance with the rules specified at the very beginning. It looks good when the screen turns out to be flush with or slightly deeper than the edge of the window sill or slightly protrudes beyond the niche under the window.